

Inkmachines nr. 71 - Rod Washer - 1pcs
Ink MachinesSpecifications
- Brand
- Ink Machines
- Packaging
- 1 pcs
Useful guides:Piese de schimb Ink Machines — Dragonfly, Stingray, Scorpion, Cobra: ghidInkMachines — mașini suedeze și piese de schimb (Dragonfly, Scorpion, Stingray, Cobra)Întreținerea mașinii de tatuat: piesele de schimb esențiale
Guide & full description
Complete guide: Inkmachines nr. 71 - Rod Washer - 1pcs
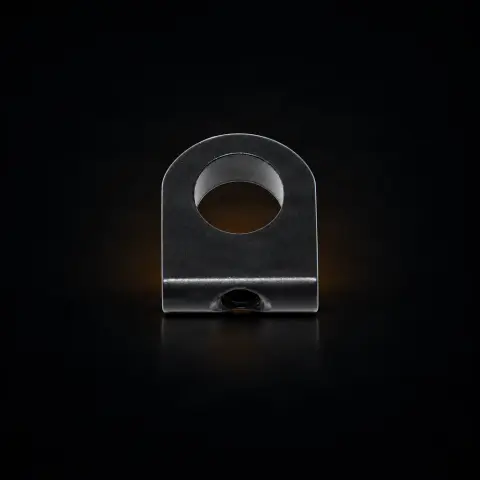
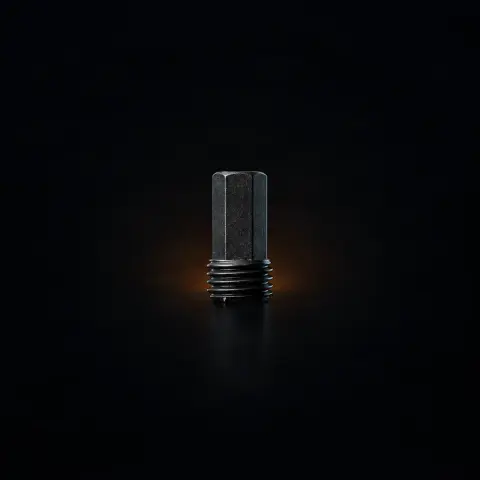
This is the original drive rod washer for InkMachines rotary machines — a small part with a precise role in the mechanism that converts motor rotation into linear needle movement. It mounts between the plastic rod and the rod screw and is especially important on the Stingray, where it helps with correct adjustment after changing cams. It is sold individually and is useful both as a replacement part during service and as a spare in the kit of any artist who maintains their own InkMachines machine.
How to use
- Turn off the machine, disconnect it, and prepare a clean work surface with good lighting, ideally with small parts placed on a light-colored towel to avoid losing them.
- Partially disassemble the drive mechanism to access the plastic rod and rod screw, following the disassembly order specific to your InkMachines machine.
- Clean the mounting area of ink residue, dust, or old lubricant; ensure the washer surface and seat are clean.
- Place the washer exactly between the plastic rod and the rod screw — this is the position the part is designed for.
- Reassemble and tighten the rod screw without forcing it; the washer's purpose is precisely to prevent the screw from leaving a mark on the plastic rod.
- On the Stingray, after changing cams, use the correctly installed washer to adjust the stroke — without it, the screw tends to lock into the previously made indentation and adjustment becomes difficult.
- Manually check that the mechanism moves freely, without excessive play or new noises.
- Run the machine briefly, dry, and listen/observe its behavior before using it for work.
Tips from us
- Being a wear part, it's worth having a few spare pieces in your kit — it's small and easy to misplace exactly when you need it.
- Check it at every service of the mechanism and replace it if you notice grooves on the surface, uneven reduced thickness, deformations, or increased mechanical noise.
- When servicing the rod assembly, consider replacing the rod assembly (part no. 73) at the same time to avoid repeated interventions.
- Avoid improvising with a generic DIY washer: the geometry and fit in the mechanism matter, and an unsuitable part can affect adjustment.
- Install the washer with a clean surface and check its orientation; when reassembling, move the mechanism by hand before starting the machine.
Frequently asked questions
What exactly is the role of this washer?▾
It is the drive rod washer for InkMachines rotary machines. It sits between the plastic rod and the rod screw, preventing the screw from leaving a mark on the plastic rod. Without it, the screw tends to lock into the previously made indentation, making adjustment difficult — that's why it's especially important on the Stingray when changing cams.
Is it compatible with my machine?▾
The part is from the InkMachines catalog and appears in the InkMachines, Dragonfly, and Stingray parts categories. To be safe, check on the product page on tatuat.ro for compatibility with your exact model before ordering — mechanisms differ from one model to another.
Can I use a generic washer instead?▾
We do not recommend it. This is a calibrated part for the InkMachines mechanism, not a standard DIY washer. A generic part may have the wrong thickness or fit, which alters the mechanism's geometry and can affect adjustment and wear on neighboring components. The cost of the original part is small compared to this risk.
How often should it be replaced?▾
It is a wear part, so check it at every service of the drive mechanism. Replace it whenever you notice grooves on the surface, reduced thickness, deformation, or increased mechanical noise. A good practice is to change it together with the rod assembly (part no. 73).
How many pieces do I receive per order?▾
The product is sold individually (1 piece). If you want spares in your kit, add more pieces to your cart.
How do I properly maintain and install it?▾
Clean it of residues before installation and place it between the plastic rod and the rod screw, in the position it is designed for. When reassembling, tighten the screw without forcing it and manually check that the mechanism moves freely. Keep it clean and replace it at the first signs of wear.
Product description
You might also like

Reviews
No reviews yet. Bought this product? Be the first to leave one.