

Set Front Binding Post for Tattoo Machines
TATUAT.ROSpecifications
- Brand
- TATUAT.RO
- Material
- Brass or copper
- Composition
- Protective coating
- Compatibility
- Conventional clip cords
- Use
- Coil machines
- Content
- Complete terminals
- Mounting
- Directly on the frame
Useful guides:Întreținerea mașinii de tatuatÎntreținerea mașinii de tatuat: piesele de schimb esențialeDe ce zăngăne sau vibrează anormal mașina de tatuat: cauze mecanice și remedii
Presentation video
Guide & full description
Complete guide: Set Front Binding Post for Tattoo Machines
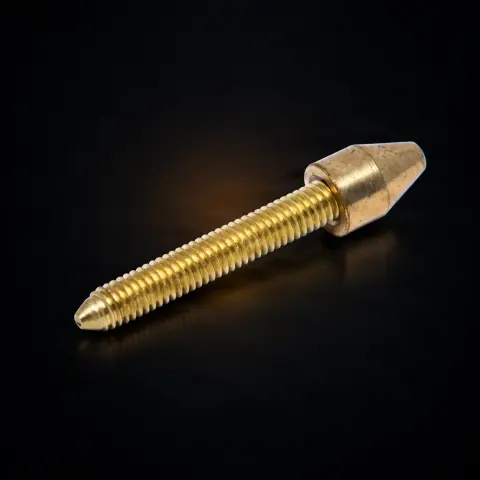
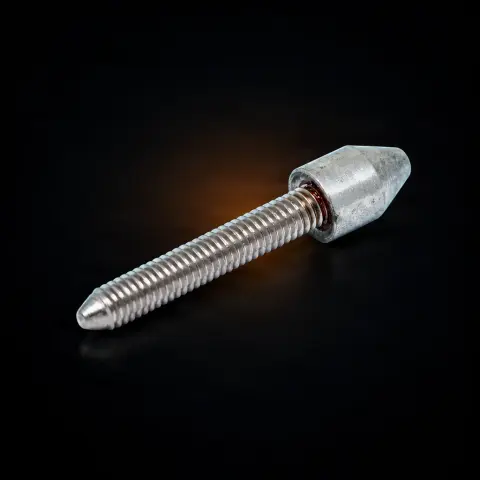
This is a complete set of electrical connection terminals for coil tattoo machines — the points through which the clip cord connects to the machine's frame and closes the electromagnet circuit. The set contains the terminal, the contact screw with a plastic screw that prevents loosening, the clip cord terminal, plus the mounting screws and washers needed for installation. It is the replacement part you turn to when the machine runs jerkily, varies speed for no reason, or loses contact during work — often the cause is a worn terminal, not a complicated machine defect.
How to use
- Disconnect the machine completely from the power source before any intervention.
- Unscrew the old terminal's nut and remove the terminal from the machine's frame.
- Clean the hole in the frame from oxidation and accumulated residues.
- Install the insulation element and washers, then insert the new terminal into the hole.
- Secure it with the tightening nut — firm enough for solid contact, without forcing the thread.
- Install the contact screw; the included plastic screw prevents it from loosening during operation.
- Connect the clip cord to the clip cord terminal, check the firm contact of the clips, and test the machine before working on a client.
Tips from us
- Wipe the contact surfaces of the terminals with an isopropyl alcohol wipe after each session — ink and disinfectant residues eventually form an insulating film that ruins contact.
- Check the tightness of the nuts and the contact screw weekly; machine vibrations can gradually loosen them.
- Before suspecting a complex machine defect (intermittent operation, speed variations, crackling), first check the terminals — it's the cheapest and simplest repair.
- Do not overtighten: deformed thread from repeated tightening is a common cause of terminal wear.
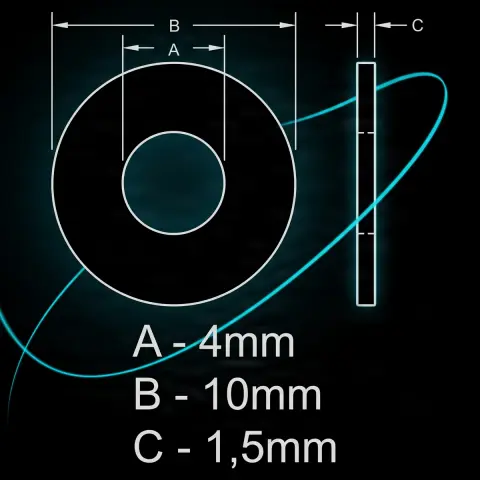
- If you have a custom or boutique machine, measure the existing terminals before ordering — the set has standard dimensions and thread, but some machines use non-standard formats.
- Keep a spare set in your kit: a terminal that fails in the middle of a session can be replaced in a few minutes if you have the part on hand.
Frequently asked questions
What exactly does the set contain?▾
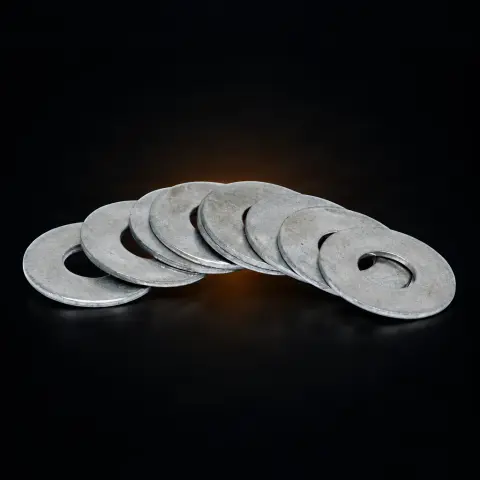
The set contains the terminal, the contact screw fitted with a plastic screw that prevents loosening during operation, and the clip cord terminal. The terminals come with the mounting screws and necessary washers, so you have everything you need for direct installation on the coil machine frame — you don't need to buy fasteners separately.
Is the set compatible with my tattoo machine?▾
The set is intended for coil machines and has standard dimensions and thread, compatible with most conventional industry machines. The exception is some custom or boutique machines, which may use non-standard formats — in that case, compare the dimensions of the existing terminals on your machine before ordering. For modern rotary machines with RCA connectors, the set is not the right solution; those use a different type of connection.
How do I know I need to replace the old terminals?▾
Typical symptoms of worn terminals are: the machine runs intermittently or jerks, speed varies without changing voltage, the contact point becomes excessively hot, the clip cord no longer fits firmly, contact is lost during movement, or electrical crackling sounds occur. The causes are oxidation of the contact surface, thread wear, deformation from repeated tightening, and accumulation of residues. If you recognize these symptoms, replacing the terminals is the first thing to try before more complicated repairs.
How do I maintain and sanitize the terminals?▾
Clean the contact surface with an isopropyl alcohol wipe each session — this removes ink and disinfectant residues that can form an insulating layer. Check the tightness of the nut and the contact screw weekly. During work, the machine (including the terminals) must be covered with a protective barrier, like any equipment in the work area. Regular maintenance significantly extends the life of the terminals and saves you from interruptions in the middle of a session.
Do the terminals work with any clip cord?▾
The standard terminal thread is compatible with conventional clip cords from the tattoo industry — those with alligator clips or ring clips that attach directly to the terminal. The important thing is that the clips make firm contact all around the terminal's circumference. If you are using a cable with an RCA connector, it does not connect to this type of terminal: you need an adapter or a different connection system.
Is installation complicated? Do I need special tools?▾
No — the process takes a few minutes and requires no special tools. You unscrew the nut of the old terminal, remove it, clean the hole in the frame, install the insulation and washers, insert the new terminal, and secure it with the tightening nut. Tighten firmly, but without forcing, then connect the clip cord and test the machine before starting work. It is a repair accessible even to someone who has never worked on a machine.
Product description
📋1 person has it in a list
You might also like
Reviews
No reviews yet. Bought this product? Be the first to leave one.