

Inkmachines nr. 44 - Needlebar retainer assembly - 1pcs
Ink MachinesSpecifications
- Brand
- Ink Machines
- Packaging
- 1 pcs
Useful guides:Piese de schimb Ink Machines — Dragonfly, Stingray, Scorpion, Cobra: ghidInkMachines — mașini suedeze și piese de schimb (Dragonfly, Scorpion, Stingray, Cobra)Întreținerea mașinii de tatuat: piesele de schimb esențiale
Guide & full description
Complete guide: Inkmachines nr. 44 - Needlebar retainer assembly - 1pcs
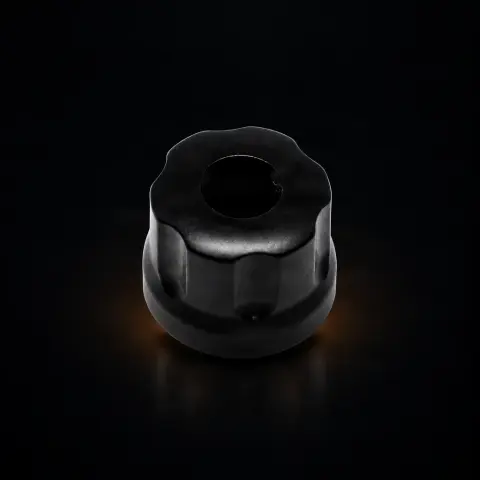
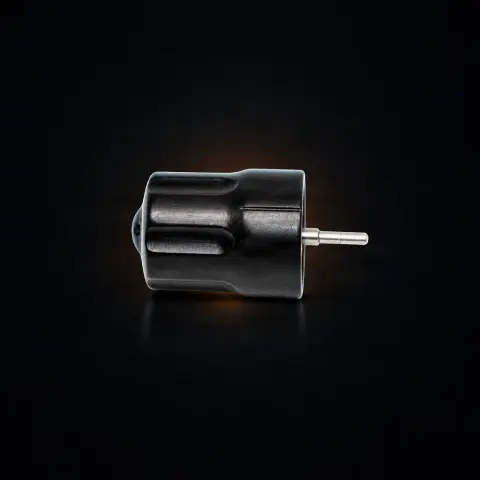
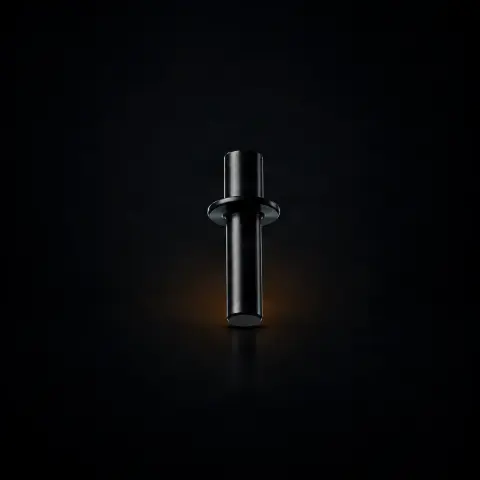
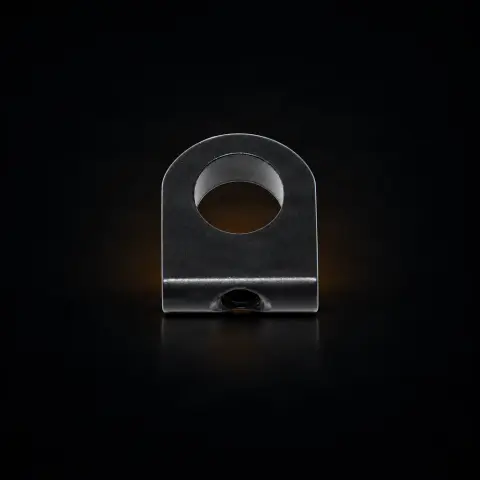
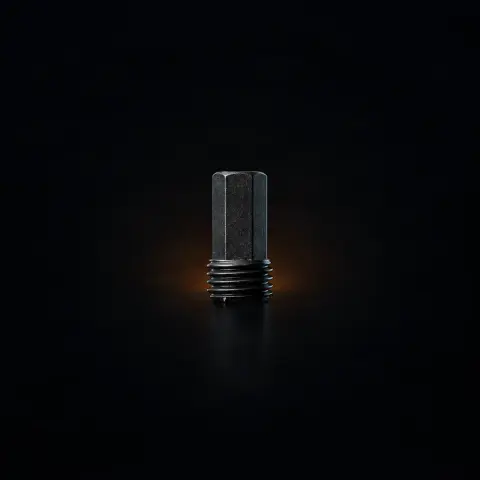
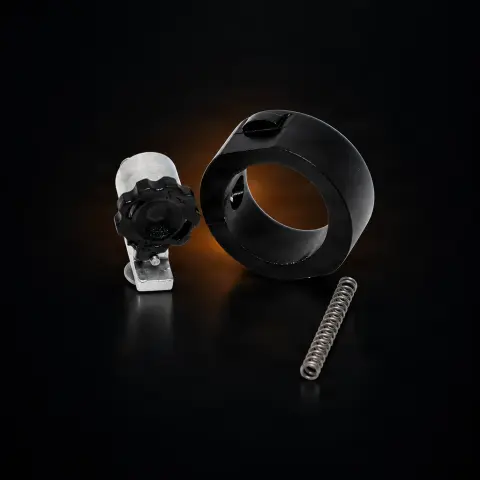
This component is part of the internal mechanism of Ink Machines rotary machines and has a precise role: it firmly fixes the needle bar in the machine frame without hindering its vertical stroke. Instead of the classic elastic band, it uses a mechanical tightening controlled by a threaded element, which reduces lateral play and helps maintain a stable line. It is a numbered spare part (part no. 44), designed for artists and technicians who maintain their own machine; it is sold individually. It is listed in the catalog for Dragonfly and Stingray.
How to use
- Stop and disconnect the machine, then disassemble the old assembly so that the frame groove is free and accessible.
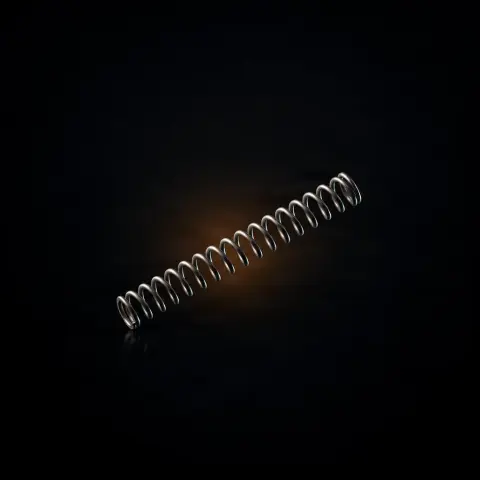
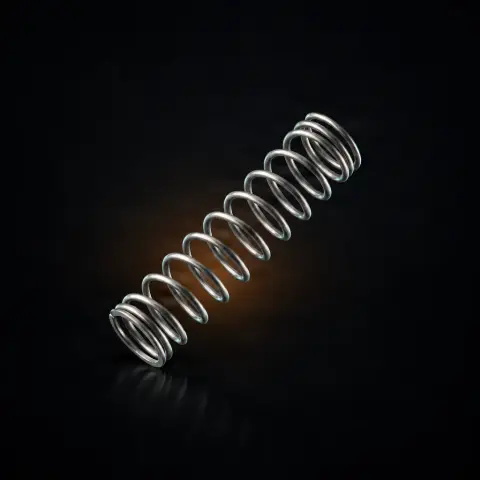
- Place the retaining spring into the groove of the retention assembly.
- Push the fixing screw through the first hole (the one opposite the retention bearing part), through the retention spring, and then into the second hole.
- Leave the end of the screw flush with the needle bar retention surface, on the bearing side (flush position, level).
- Insert the assembly into the frame groove and slide it back into position, checking that the retention spring engages correctly with the frame groove.
- Hold the assembly in place and tighten the fixing screw.
- Adjust the pressure from the threaded element: tighten progressively for maximum stability (lines), loosen slightly for shading; the target is zero lateral play but free and smooth vertical movement.
- Start the machine empty and test the needle stroke before working on skin.
Tips from us
- Always test the adjustment with the machine running, empty, before touching the skin.
- Periodically check if the needle bar develops lateral play — it is the main sign that the tightening pressure has decreased.
- Do not force the tightening beyond the point where vertical movement becomes sluggish: excessive pressure unnecessarily strains the motor and worsens the needle stroke.
- Keep a spare assembly in your kit — it's a small part, and preventive replacement avoids session interruptions.
- Use needle bars with the correct diameter and tolerances: the quality of the fixation directly depends on the bar's size.
Frequently asked questions
What is the exact role of part no. 44 in the machine?▾
It is the assembly that fixes and stabilizes the needle bar inside the Ink Machines rotary machine. Instead of elastic bands, it applies controlled mechanical pressure on the bar so that it moves only on the vertical axis (needle stroke), without lateral oscillations. The practical result is a more precise line and more consistent shading.
Which machines is it compatible with?▾
It is an original Ink Machines part, listed in the catalog for Dragonfly and Stingray. Being a numbered reference, specific to the machine mechanism, check the exact model of your machine before ordering; the original part ensures correct fit in the frame.
How do I adjust the tightening pressure?▾
Through the integrated threaded element. Progressive tightening increases pressure on the needle bar — good for lines, where you want maximum stability. Slight loosening reduces pressure — suitable for shading and blending. Correct adjustment eliminates lateral play but leaves vertical movement free and smooth. Always test with the machine running, empty, before working on skin.
How often should it be checked or replaced?▾
In intensive professional use, check it every 4-6 months and replace it when signs of wear appear: the needle bar develops lateral play even at maximum tightening, or the mechanism no longer maintains constant pressure over a session. Preventive replacement around 12 months is good practice even without obvious signs.
Does it work with non-original needle bars?▾
The assembly is designed for needle bars with standard dimensions compatible with the machine. Original Ink Machine needle bars guarantee fit. Those from other manufacturers may work if they respect the same dimensions and tolerances, but subtle diameter differences can affect fixation quality — that's why we recommend original or verified compatible bars.
Is it delivered sterile, ready to use?▾
No — it is an internal replacement part, not a sterile consumable, and does not touch the client's skin. You install it with the machine off, then during work you protect the machine with disposable barriers. Sterility concerns the needles and disposable needle bars, not this reusable assembly.
Product description
You might also like
Reviews
No reviews yet. Bought this product? Be the first to leave one.